
Milky Way at Zion
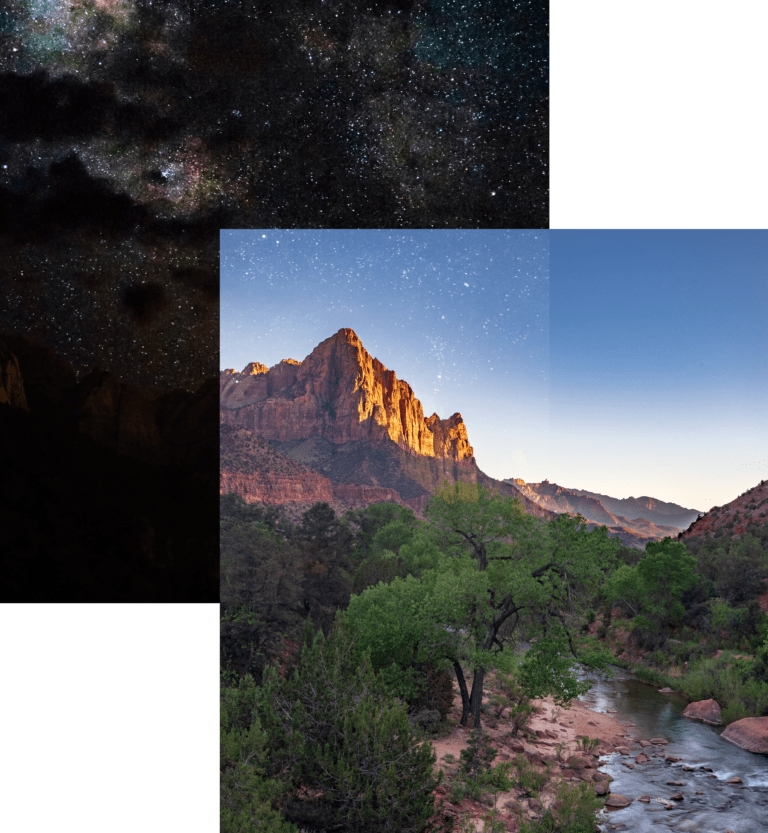
Shooting the Milky Way galactic core rising over The Watchmen was exciting but things did not go smoothly. Focusing on the stars (infinity) is difficult in the pitch black but keeping the peak in focus as well made it more challenging.
What does the “naked eye” see?
Astrophotography is a very slow process, each exposure is 10 to 30 seconds long and almost just as long for the camera to write the data to the card. So finer adjustments are time consuming and timing events (galactic core rising over the peak) makes for an interesting exercise while looking for gaps in the cloud.

And sometimes at the end of your exposure a car’s headlights swing into the frame and make it look like the sun is rising inside the park!
Shooting wide (and wide open) is the best course of action for astrophotography since it allows for longer shutter speeds before star trails show up. The 500 rule provides a convenient way to derive the exposure time for a given focal length. In the photo above the 500 rule would suggest an shutter speed of 21 seconds but it is actually 30 seconds long and upon closer inspection star trails are visible.
Side note: Shooting full-frame “extended” my shutter speed since the 500 rule is effective focal length, in my case it would reduced my shutter speed by the crop factor to 13 seconds.
Even at 30 seconds and ISO 6400, the foreground is barely illuminated… which is excellent from a dark skies perspective but not so great for shooting a foreground interest with the galactic core. I had to zoom to 40mm to make The Watchmen a little more prominent, which dropped my exposure time to 12.5 seconds.
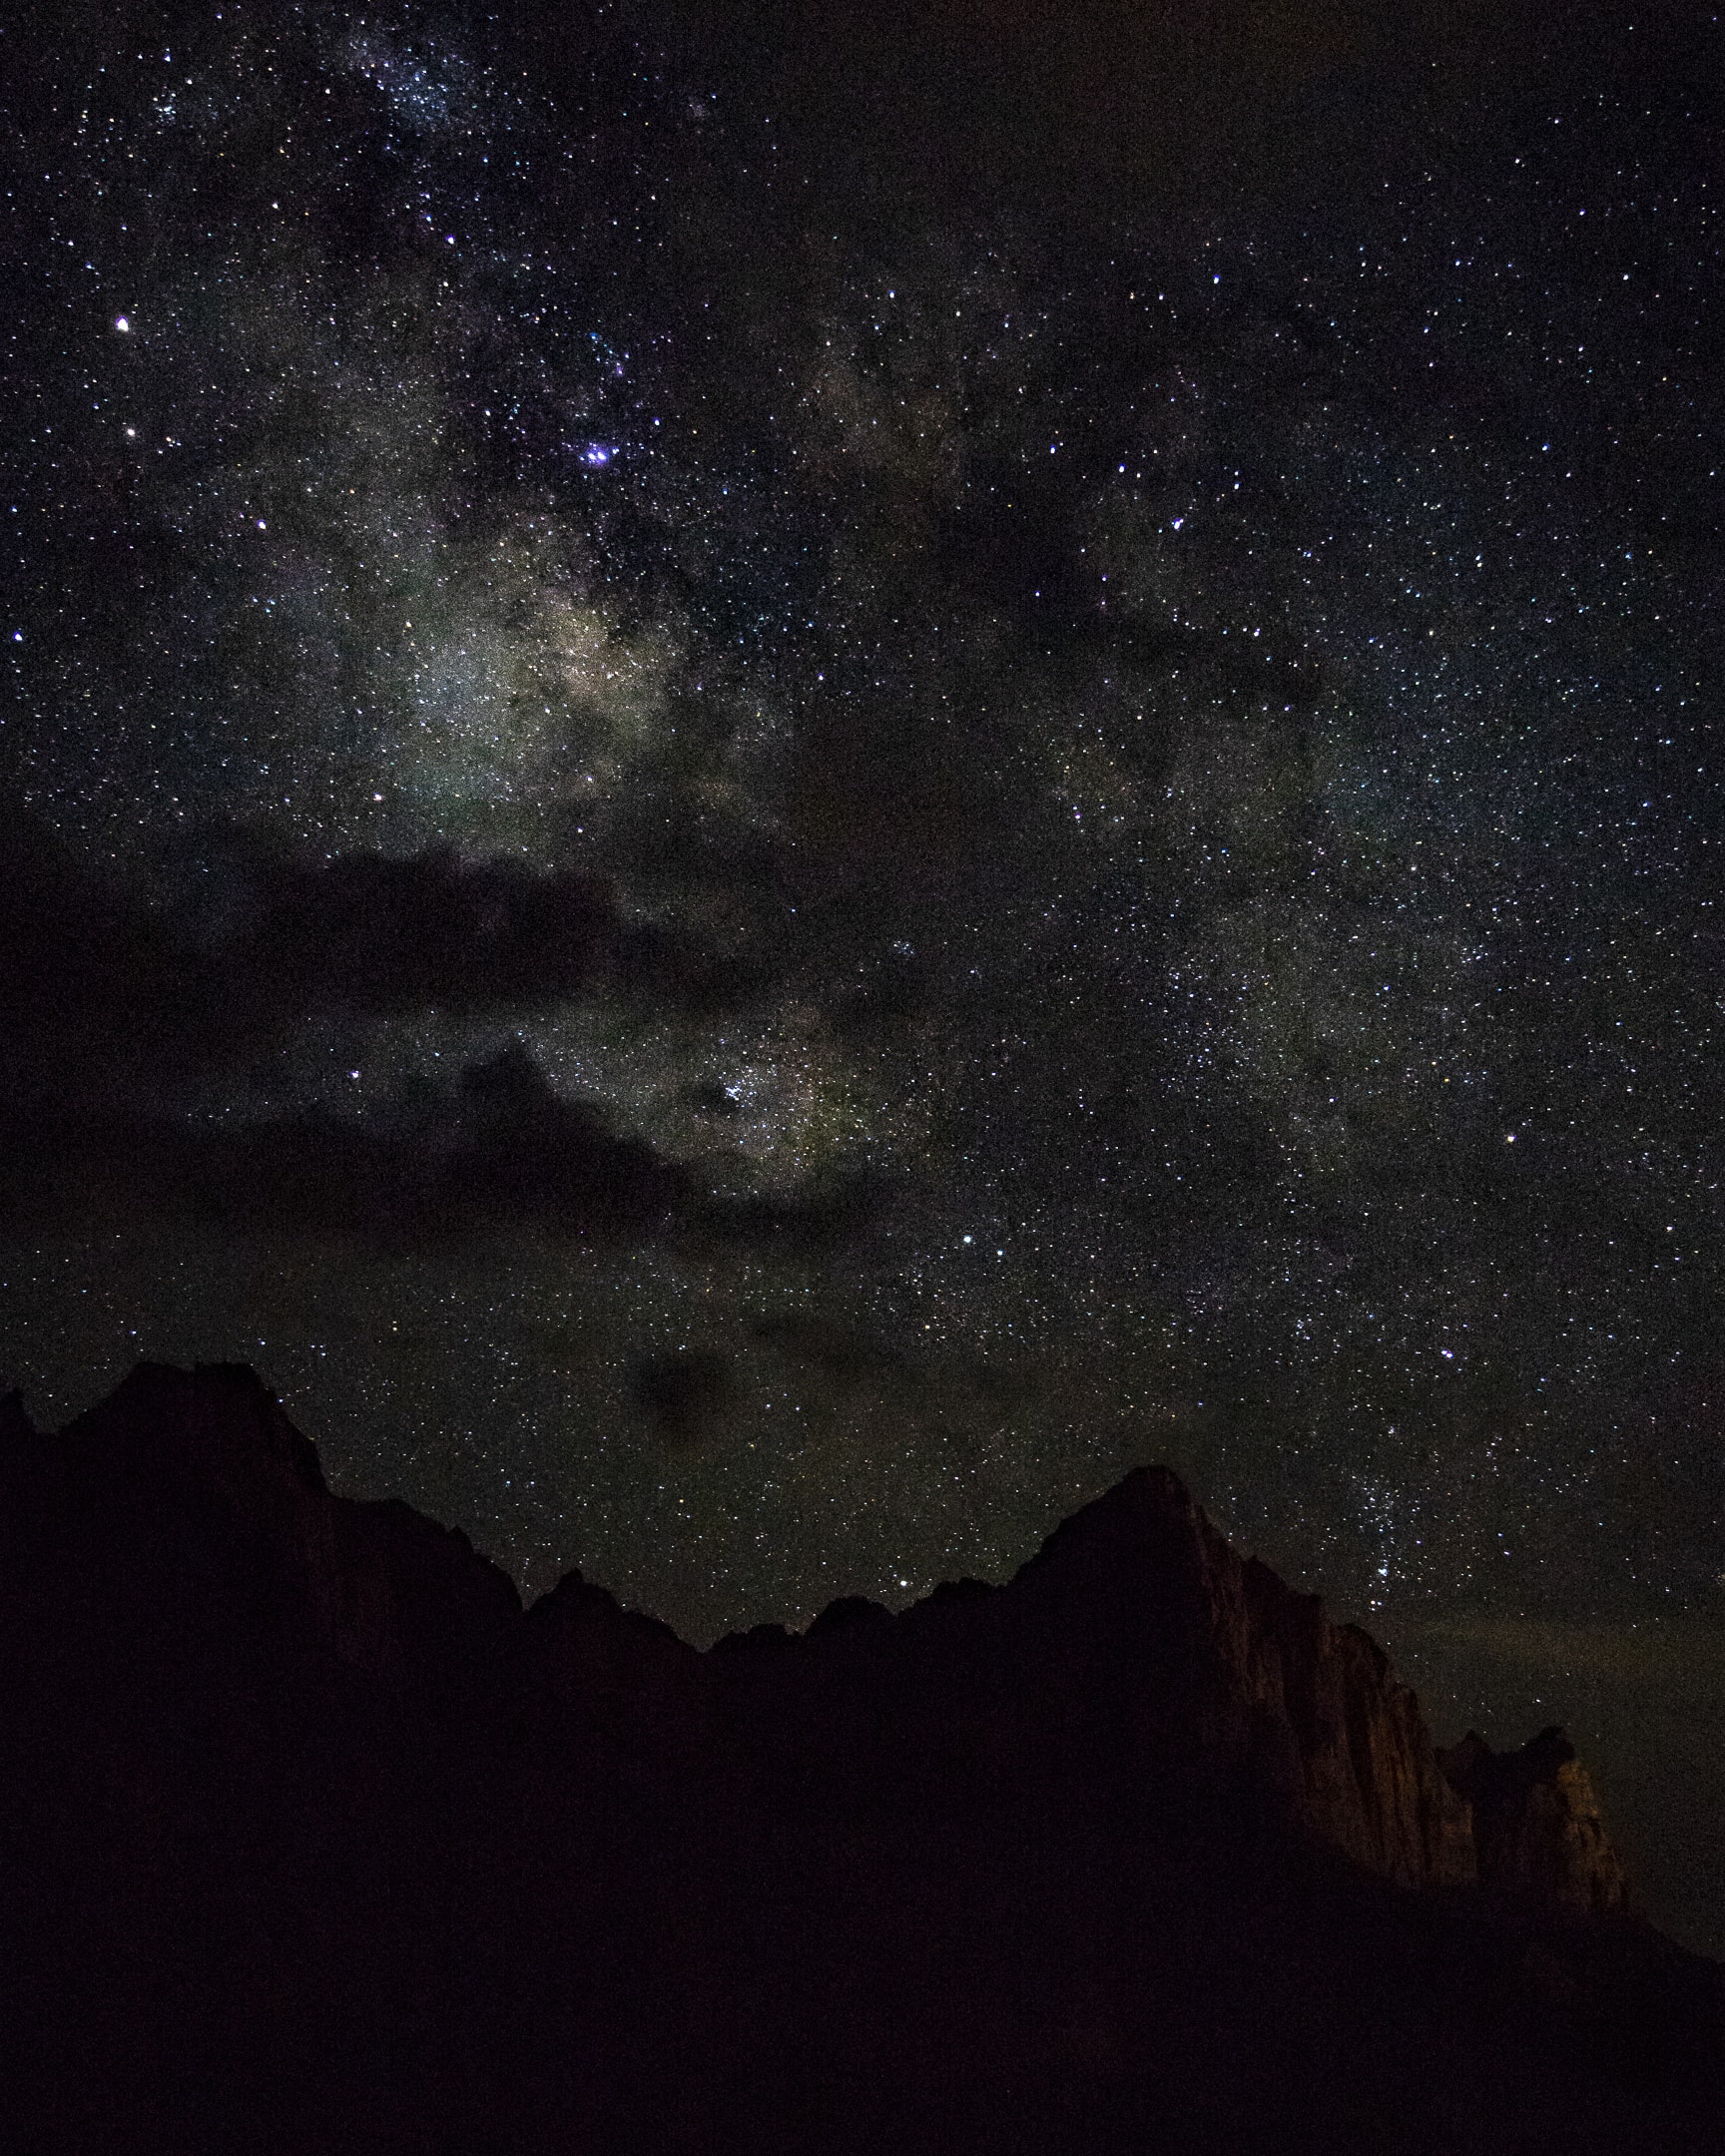
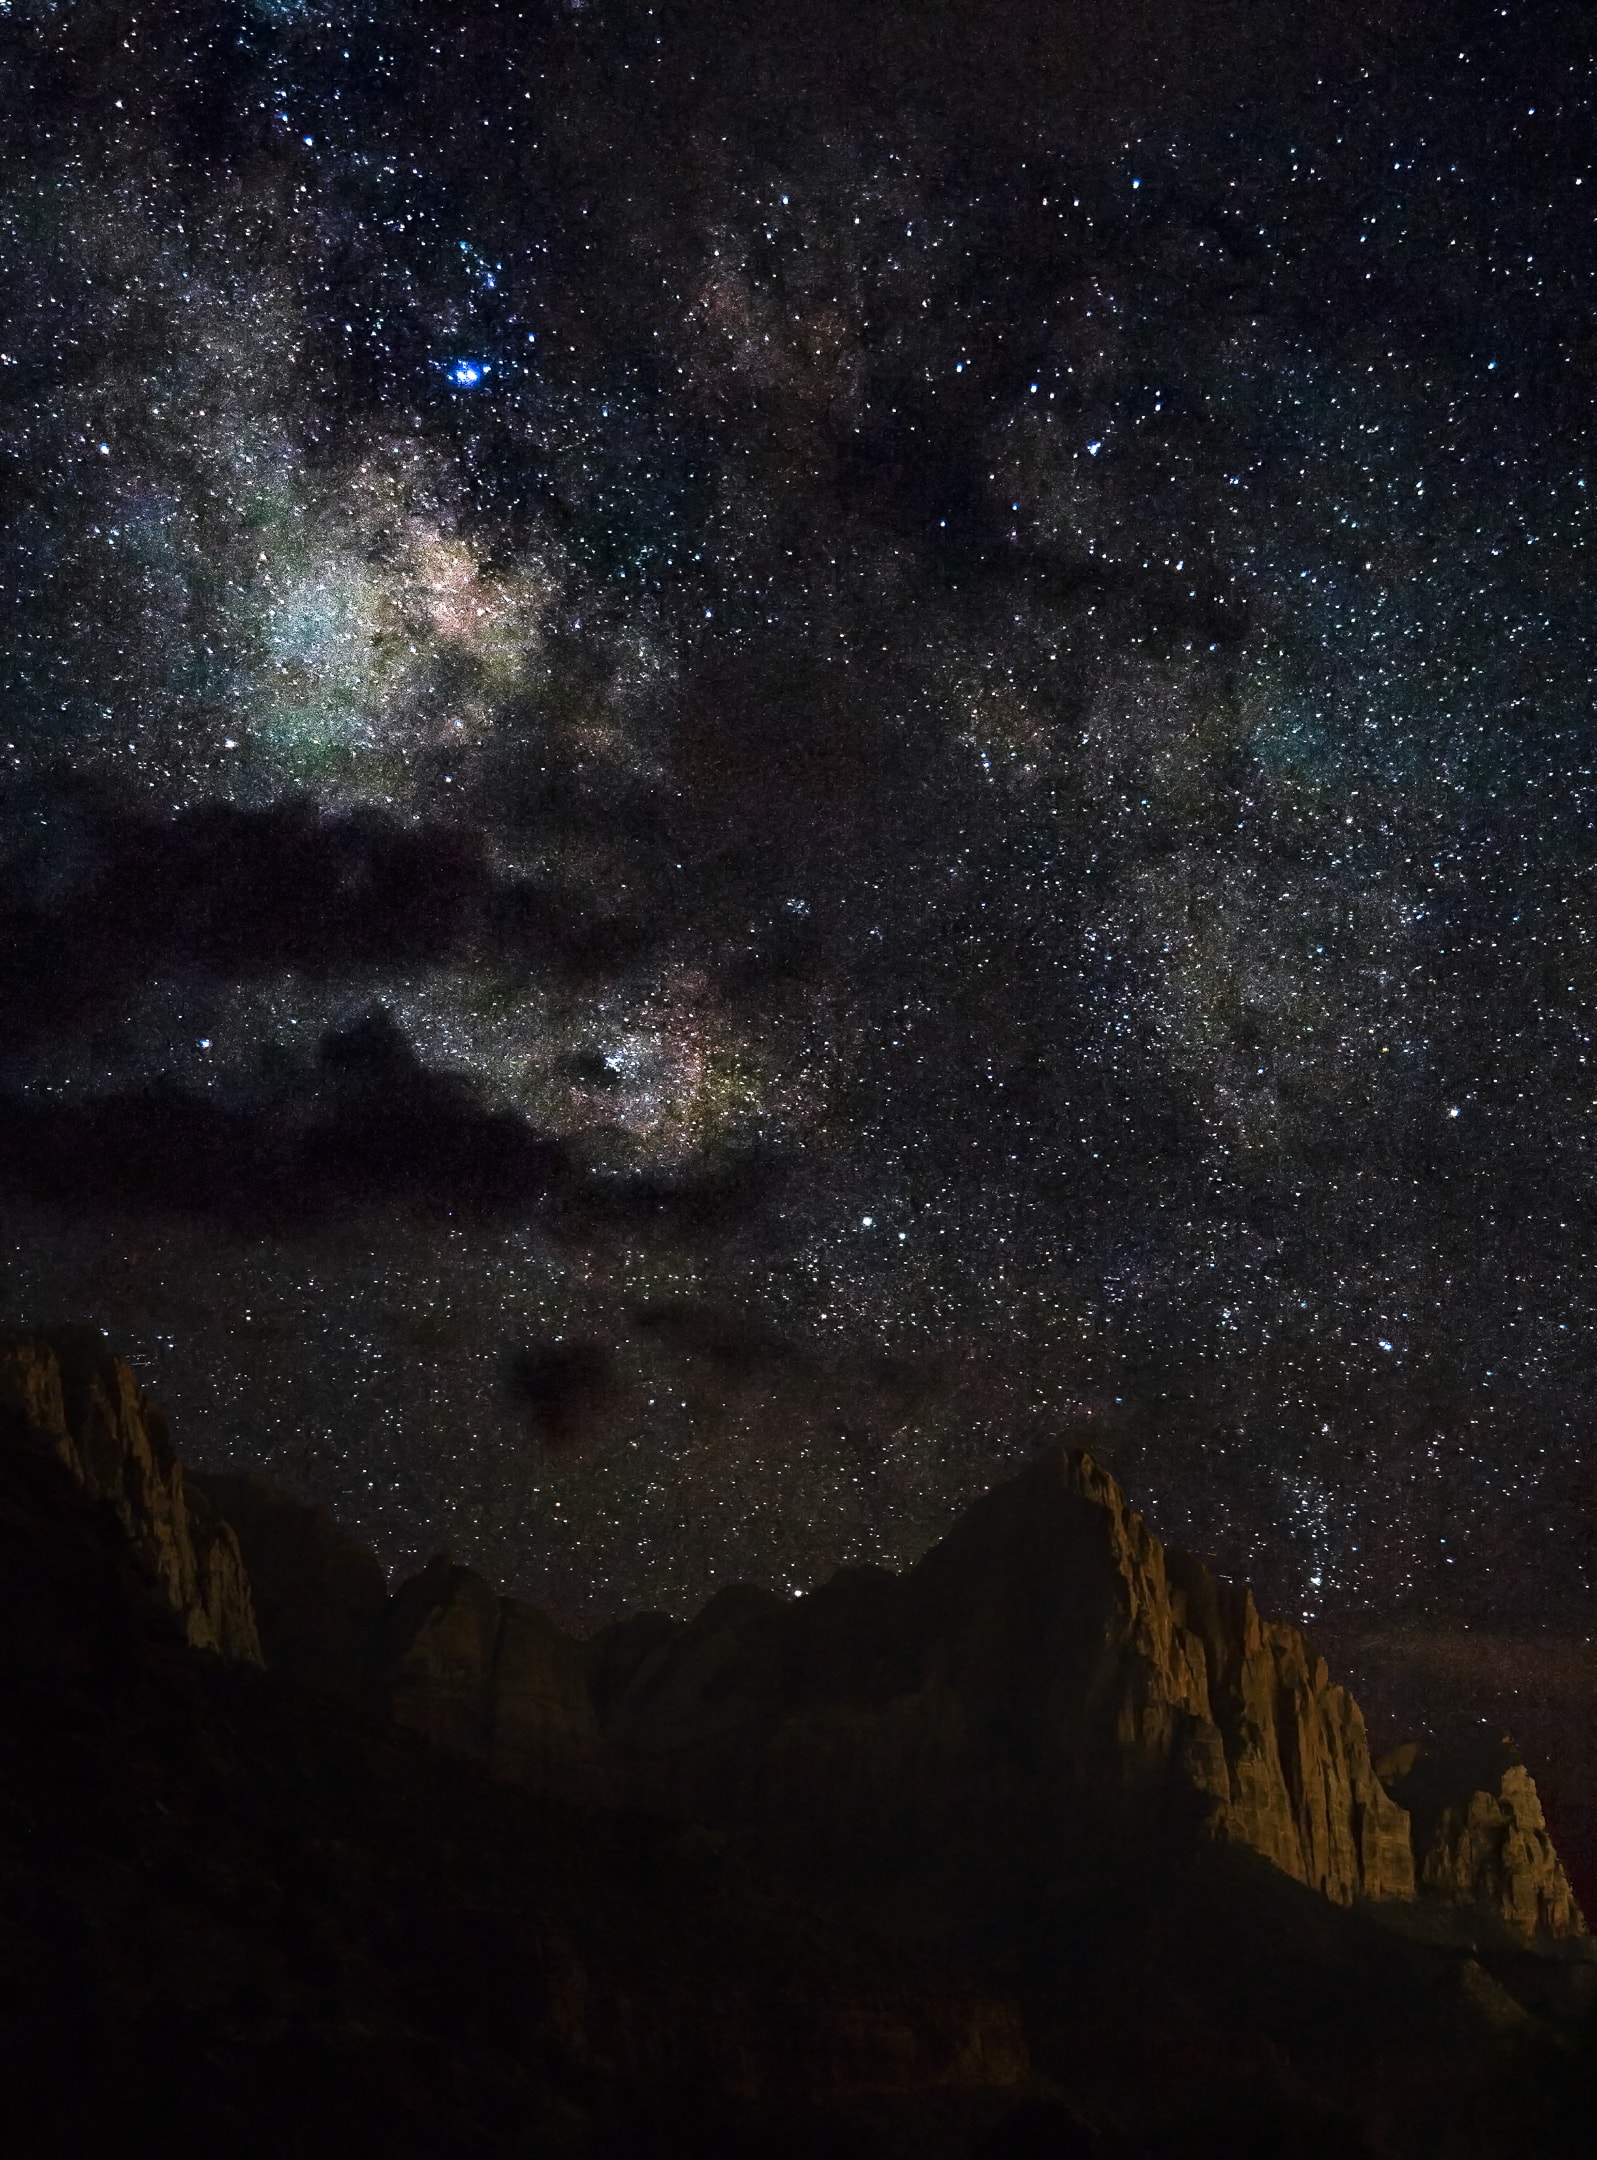
I decided to take the foreground separate from the sky. I shot the Milky Way at ISO 6400 with a 10 second exposure to ensure that the starts were brighter but crisp. For the foreground I wanted to reduce the noise shooting at ISO 640 but for a 3 minute long exposure.

10s at f/4, ISO 6400 180s at f/4, ISO 640
Ultimately, with the clouds the sky was fairly noisy and the foreground still didn’t have enough light and it wasn’t very crisp. This is compounded with me not being a very good Photoshop technician and not being able to effectively mask the mountain range and layer the photos. After several bad attempts, watching some tutorials, and a bit of cheating (the final image has the mountain range pushed up a few pixels), this is the best result I can produce from the source images above:
Shooting with a faster lens would definitely improve the situation significantly. My original intention was to shoot the widest I could (24 mm) to get the longest shutter speed, so I completely ruled out my 50mm f/1.8 lens. In hindsight this was a mistake since I ended up zooming to 40 mm (and the image is further cropped in), even with a max 10 second exposure I would have ended up with more than 4 times as much light (2⅓ stops).
I wanted to force myself to write all this up to make the lessons stick better (lessons I already knew but didn’t tap into in the field, frustrating). The silver lining is that there is a LOT of room for improvement!